Part of this project was to also add a set of french doors on the second floor from the smallest bedroom into the entry to make an office. I thought about taking the wall down and making it a half wall, but for re-sale value it was better to just add a set of french doors to where the office could still be considered a bedroom.
The first step was to lay out where I wanted to place the doors. I bought the doors and frame off craigslist from an abandoned storage unit for $60. Below is the frame laid out in the new office.
I then went about the act of cutting out the hole and adding a header above the door. This wall was not load bearing, but I still needed to have something to mount the door frame to. This was challenging because all work was on the second floor open to nothing below.
I then added the frame and doors. I am not sure where my brother was for this project, but for some reason I decided to install the doors and frame myself. I just remember almost falling through the hole while trying to install the solid doors. It was not my best decision to do it myself. Below are the doors installed.
The doors were going to be the wrong color to match with everything else, so they needed to be re-finished. Since the doors were solid wood, I sanded the old finish off and then gel stained the doors a dark espresso color. All the pictures in this post make the color look black, but it is actually a dark brown color. I had to tape off all the glass to be able to gel stain. You can see below that I went through a ton of tape!
Since the doors would open, there needs to be a railing on the other side. This would be part of the stair railing upgrade.
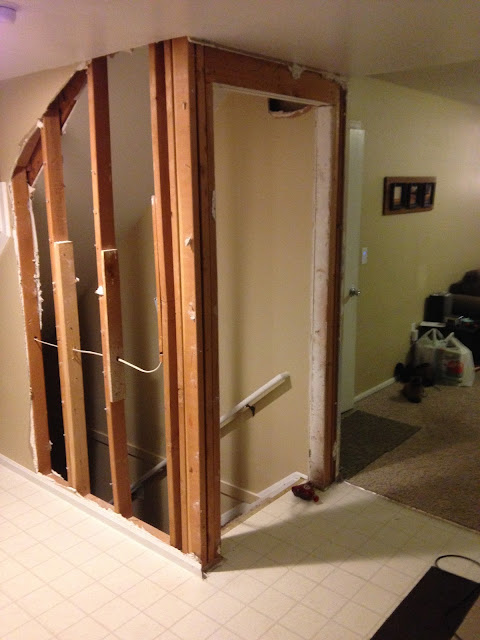
On the first floor, right off the existing kitchen, there was a door that led to the basement.
After all this was completed, it was time to work on the stairs. Before the stair treads of the stars were wrapped in carpet on the ends. I wanted a more modern look, so I created solid wood covers to go over the ends of the treads where the carpet used to be. I cut the carpet back and I stained these covers the same espresso color as the french doors. I will be getting all new carpet in the house once all the drywall work is done, so all this carpet is just temporary and it will be fited correctly when it is replaced.
Below is a picture with most of the covers installed.
I then started changing out the main newel posts. I found these solid oak posts at Lowes and they were just what I wanted. I was going to make my own but for the sake of time and cost, the Lowes option was a great choice. These posts I also stained with the gel stain. All stained pieces also received a minimum of six coats of satin polyurethane to make the finish more durable.
I removed the old railing and I was able to use the top railing again even though I did have to cut it down to fit the new newel posts. This was also sanded down and stained.
Where most spindles are normally vertical, I decided I wanted to make mine horizontal to get that modern look. I used 1.5" square tube aluminum that I used a metallic paint on for my cross pieces. I then re-assembled the railings. There are special fasteners I had to use including bolts to hold in the posts down into the stair treads, but even if you had a running start the rails would not go anywhere. This railing is even stronger than the prior one with all the metal used. Below are completed pictures including where I added a railing in front of the french doors.
Lastly, I added the railing over the opening I created on the first floor. This included addling a stained wood piece next to the bamboo flooring so that it would match the stair tread addition.
This project took quite a bit of time because of all the wood working and staining involved, but it really did make a huge difference to the entry. The next post will be about the living room and then that will complete the first floor. Thanks for checking out the progress.


No comments:
Post a Comment