Sunday, February 28, 2016

Entryway Overhaul Renovation

It has been a long time since my last post but there has also been a ton of work being completed on my house.  There are no less than about 20 projects going on that have to be all completed at the same time, but I wanted to share a project that is now almost completed.

Inside my home there is a large two story entryway.  The entryway has always seemed very plain and it really just needed to be renovated to give it a little more character.  To do this there was three parts; removing a closet, adding crown molding and LED lighting, and adding a new chandelier and can lights in the entry.  The railing will all be redone at a later point.  To start out, this is what the entry used to look like. 


The ceiling in this entryway is a little over 20 feet tall so my brother and I had to use some pretty long ladders to get to the ceiling.  The first step was to paint the top 12 inches of the wall the new wall color. This area will be lit up with the new lighting in behind the molding and once the molding is installed it would be hard to get a paint brush behind it to do the painting.  I then created the molding profile I wanted by using two pieces of trim.  The first piece was MDF stock that was 2 ¾  inch tall by ¾” wide.  Once this molding was pre-painted I nailed it to the walls so that I would have something to mount the crown molding to. The string in the picture is to help keep everything straight since many of the ceilings are wavy (you have to love 1970s construction).


The crown molding is extra wide at 5 ¼ inches tall and since I will not be mounting it to the ceiling, I needed to find a way to make mounting it easier.  What I did was cut a 1x2 in half with a 45 degree angle and attach this to the back of the crown molding with wood glue.  This gave me added material to mount to as well as helping to keep the correct angle on the crown molding.  Below you can see how I did this.  This made mounting the crown molding so much easier; especially when you are trying to line it up 20 feet in the air.


Here are the pictures once the molding is fully installed. 


As with all the walls in the house, I am skim coating them with drywall compound to re-texture the walls.  This entry took almost 15 gallons of drywall compound and turned out to be quite difficult up high.


The second part of this project was to remove a small closet and make the opening larger.  At a later point I will be installing high and low cabinets in the opening.  Below is the original closet after I had removed the door.


You will notice in the following pictures that there are openings on the side of the closet.  This part will be behind cabinets but was left open so I can access my home audio system, my whole home router, and the electrical for the LED lighting in the crown molding.  All walls were painted the same grey color as the rest of the house.  


Once all the plaster and drywall work had been completed and painted, it was time to work on electrical.  I decided that for my crown molding I was going to have both color changing LEDs as well as warm white LEDs so I could make the entry look different just by changing the color.  I used LED light strip that I bought off eBay.  For the 20 meters (about 66 feet) of lighting it cost about $30 with the controller and power supply for the color strips and an additional $15 for the warm white.  Since the molding was so high up in the air, I wanted to find a way to install the lighting easily and also find a way to attach the lighting flat.  Any height difference in the strip would be visible on the ceiling.  I did this by cutting foam core the length of each side of the wall and then attaching the light strips to the foam core with hot glue.  All I had to do was then place the foam core in the groove behind the molding.  Here you can see the strips attached to the foam core.


Once everything was all hooked up it looked really cool.  Here is a picture of the warm white strips on.


Here is a picture of the colored LEDs in action. These strips allow me to pick up to 256 different colors.


I also have the option to have the colors automatically change.  I probably will not ever use this function but it is cool to see what it can do.  Here is a video of the lights on the rotating function.


The last part of the project was to add ceiling lights and a new chandelier.  In the old entry there was just one chandelier that hung off center in the entry.  I decided to change this by first adding two can lights on either end of the entry.  I also used LED lights in the cans so that I will not need to get out a ladder for decades to change them. 

Then came the chandelier.  Since I would be centering the chandelier in the middle of the entry, it would no longer be easy to gain access for cleaning. The light fixture came from amazon since I couldn't find one I liked locally that didn't cost a fortune, and this one turned out to look great in the entry.

 I came up with a crazy idea, but one that worked out well.  On eBay I purchased a $10 winch with a 30 foot nylon strap on it.  I then mounted this in the attic and attached the ceiling electrical box that the fixture attaches to at the end of the strap.  After installing a modular plug on the end of the light to connect in the attic, I was ready to go.  Now I am able to raise and lower the light whenever I need for cleaning or in case something goes wrong with the LED bulbs I installed in the fixture. 


Although this project took a couple weekends with my brothers' help, it really made a huge difference with my entry.  I cannot wait until I re-do the railing to see what everything looks like put together.  I am probably a couple months off on the railing since it is not a current project, but I will post about it when I get to that point.  Well that is all for now but keep tuned for more frequent updates since my house is torn apart right now.  Here is a sneak peek of the state of the kitchen so you can see how much is still to come.  


Thursday, October 22, 2015

The Pergola - Part Two

For the second part of the pergola post we will be looking at more of the finishing details.  The next step in this project was to add the paver patio.  I decided that I wanted to have a paver patio under the pergola to match my other paver patio that was featured in a prior blog.  I started by having a little over six tons of road base delivered to my house.  I then hauled the road base into the area of the patio and laid it about 5 inches thick.  After compacting the road base, I was ready to add the pavers.  I used a thin layer of sand over the road base to help in leveling the pavers.  Below you will see the pavers laid under the pergola.  The total area of the patio is about 14’ x 16’. My brother also helped me with this part which you can tell because you can see his foot in the corner of the picture :)


You will notice that there are gaps between the rows of pavers.  I saw a home in California that used artificial turf around their patio.  I decided to modify this idea and use it in the middle of my patio to give it a unique look.  I also did this so that the pavers could shift with the ground and it would not be as noticeable since there would be fewer pavers that would be laid next to each other.  In the gaps I added additional road base almost up to the top of the pavers to also help keep them from shifting and lock them in place.  Road base is basically the ingredients used for concrete minus the chemicals to make it permanently hard.


I purchased the artificial turf on e-bay for about $90 shipped and I wound up with plenty of turf leftover.  The artificial turf was a remnant from a home that had a yard installed with this turf so I bought it for less than $1 a square foot.  This turf is unique because it is a high end turf where the blades of grass are different shades of green and there is even brown thatch woven into the turf. I cut the turf to the dimensions I needed to fit into the gaps and then staked it down with many metal landscaping pins.  These same pins are used for holding down landscape fabric.  

With artificial turf you have to have an infill to keep the grass from pulling up with water or wind.  You can use rubber pellets or sand; I chose sand.  We used almost a half ton of sand and you just cover the grass and then rake it in.  We used mason sand which is much finer than regular sand so it settled into the groves much better.  Below you can see the start of the grass.

Unlike my other patio where I used metal edging to keep the pavers in place, I tried a different option with this patio.  Under the last row of pavers around the patio I placed the pavers in wet concrete a few inches wide around the edge.  I then sloped the concrete around the sides to keep the pavers from shifting from side to side.  This made a much more permanent installation and seemed to hold the pavers in place much better.  In the below picture you can see the concrete in the lower right hand corner sloped up the side of the paver.  All this concrete will be covered by mulch so no one will even know it is there. 


Lastly I ran a strip of turf around the front edge as well as in the insets of the fireplace hearth.  Below is the finished product.  It really is surprising how realistic the turf feels even though it is just plastic.  The turf will have a 15-20 year life span before it will need to be replaced.


Once the turf was laid, I needed to finish the concrete work on the hearth of the fireplace.  I forgot to take pictures as I completed the work so I will just explain the details.  I used the same fiber reinforced concrete that I have used in the casting of the moldings.  I used this product to cover the surface of the pavers I installed for the base of the hearth.  I used a stucco trowel to apply the concrete about 5/8” thick and the fiber in the concrete will help keep the surface from cracking.  In order for it to adhere well to the existing pavers, you need to wet the pavers so that the existing cement does not draw out all the moisture of the new concrete before it has a chance to cure.  The last step was to paint the new concrete to help prevent rust stains on the concrete as well as to make the color a little less white.  I used an epoxy paint that is used for the floors of garages and will stand up to standing water.  I had the color tinted a dirty white color and painted the hearth as well as the moldings on the fireplace so all would match.  The paint is flat in color so looking at the fireplace you cannot even tell it has been painted and looks like plain concrete. The picture below does not have the grout between the stone castings painted but I did paint it at a later point.


The next task was to complete the stone column bases.  Because these bases are completely exposed to the elements, I needed to make sure that they could withstand long periods of moisture.  I started out by making a wood box for the base of the columns as seen below.


I then covered the wood in cement board that is used for the walls behind showers.  This type of material is perfect in this situation because it cannot rot.  The last step was to cover the cement board with the same wire mesh used in all the prior stone projects. 


I installed the stone the same way as I did in all the previous projects so I will not go in detail again about how I did it.  Below you can see the finished stone columns for the base of the pergola. 


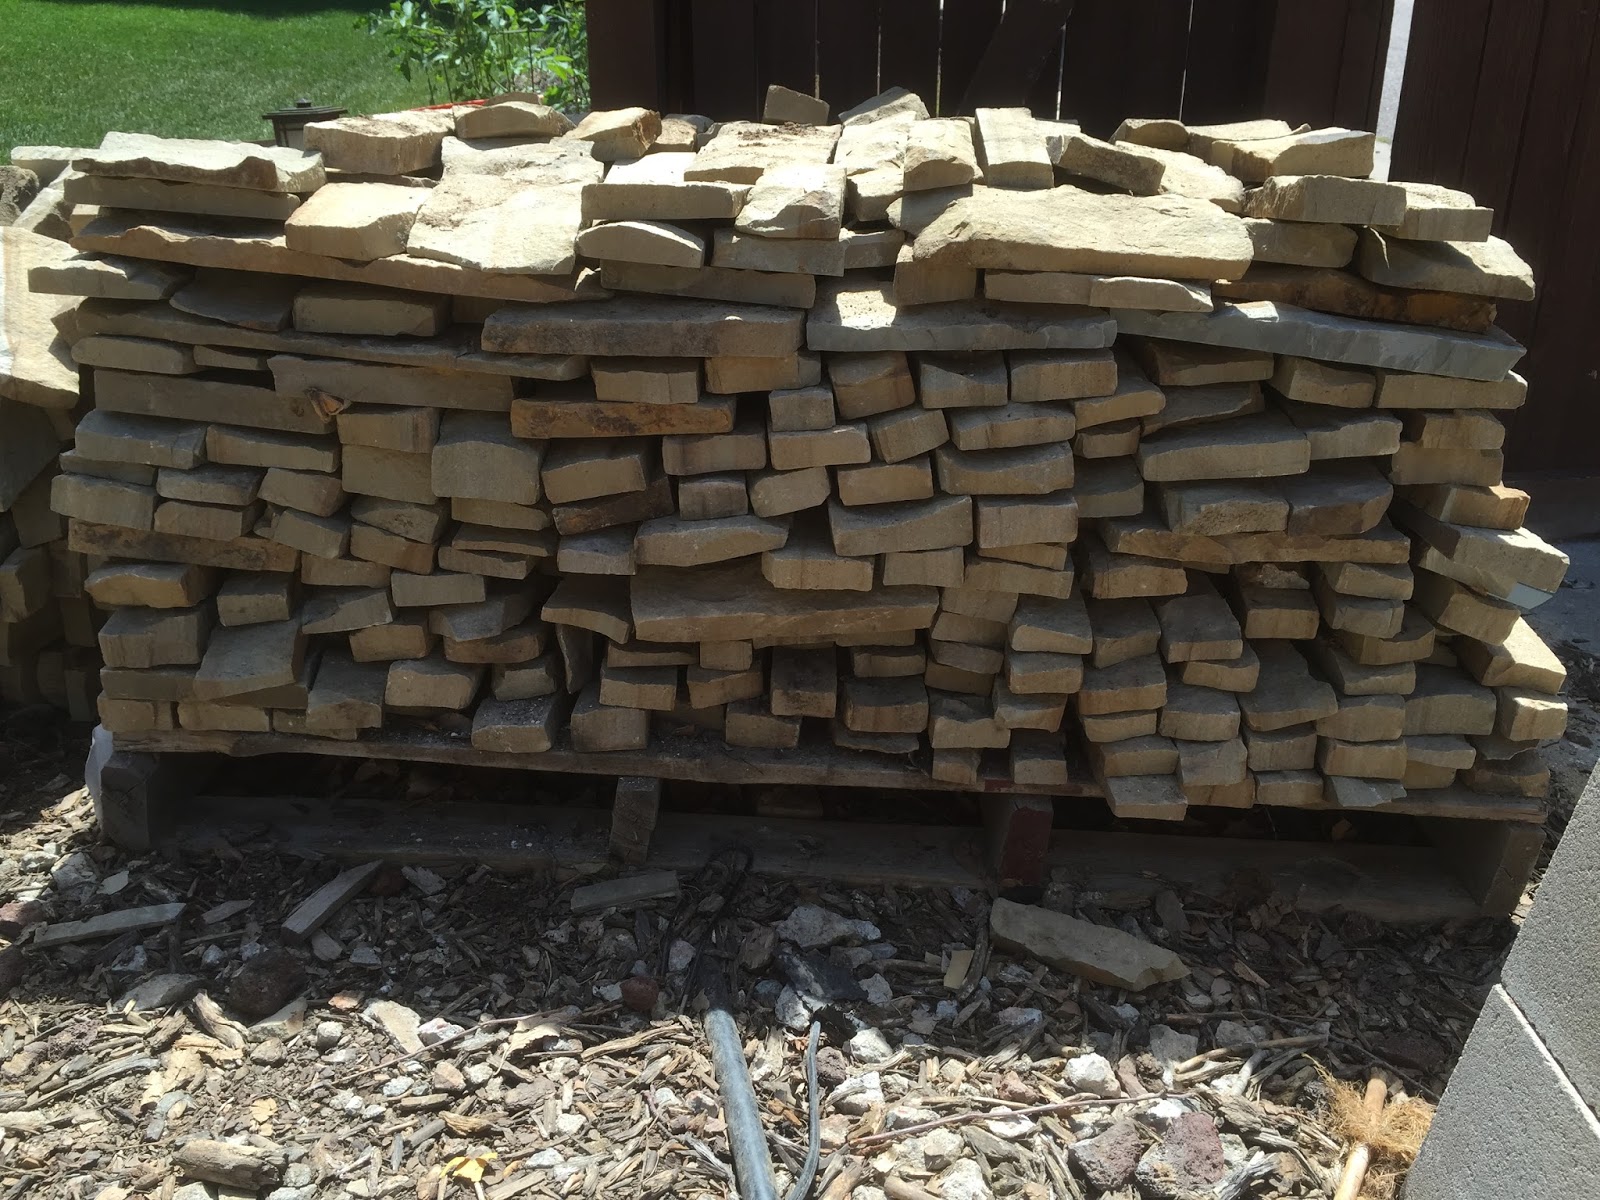
I was very happy to be done with all the stone work since it seems like I have been laying stone for almost two years now.  I had one pallet of stone leftover which I then sold on craigslist as well. 


The stone turned out to be a great deal!  I spent $1600 for all the stone from an over ordered project that was completed not too far away from my home.  I then sold one pallet of stone last summer for $750 and this last pallet for $300(it was a lot smaller.)  This means that all the stone for my front columns, columns on the retaining wall, stone around the garage, the pergola, and the fireplace only cost me $550.  If I was to but the stone I used it would have been well over $5000 so it really turned out to be a great deal. 

The last part of the columns was to add the column tops.  I again used PVC trim to do this so there will be no rotting when the snow sits on top all winter.  Once the trim was added I then painted it to match the columns on the front of the house. 


Well after two summers of work on this area of my home, it is finally completed.  I will leave you with this before picture:


And now all the after pictures including a couple night shots. 


Now on to more projects on the inside of my home; which is great timing since snow will be here in a couple weeks.  I guess I will really get to enjoy this patio next summer!

Monday, July 6, 2015

The Pergola - Part One

It has been forever since my last blog post but a lot has changed at Casa de Sheldon.  This will be the first part of a two part post about the new side patio I have built.  The first part will cover the building of my new pergola and then the second part will cover the building of the patio.  If you remember from some previous posts about the fireplace, this area of my yard used to house old cars before I owned the home and was infested with weeds. 


After clearing out the weeds and building the fireplace, it was time to build a pergola.  Just to match everything else I have done to this point, I decided to go way over the top on the pergola.  I designed the pergola to have a lot of architectural elements but to also match the front of my house so it would all tie together.

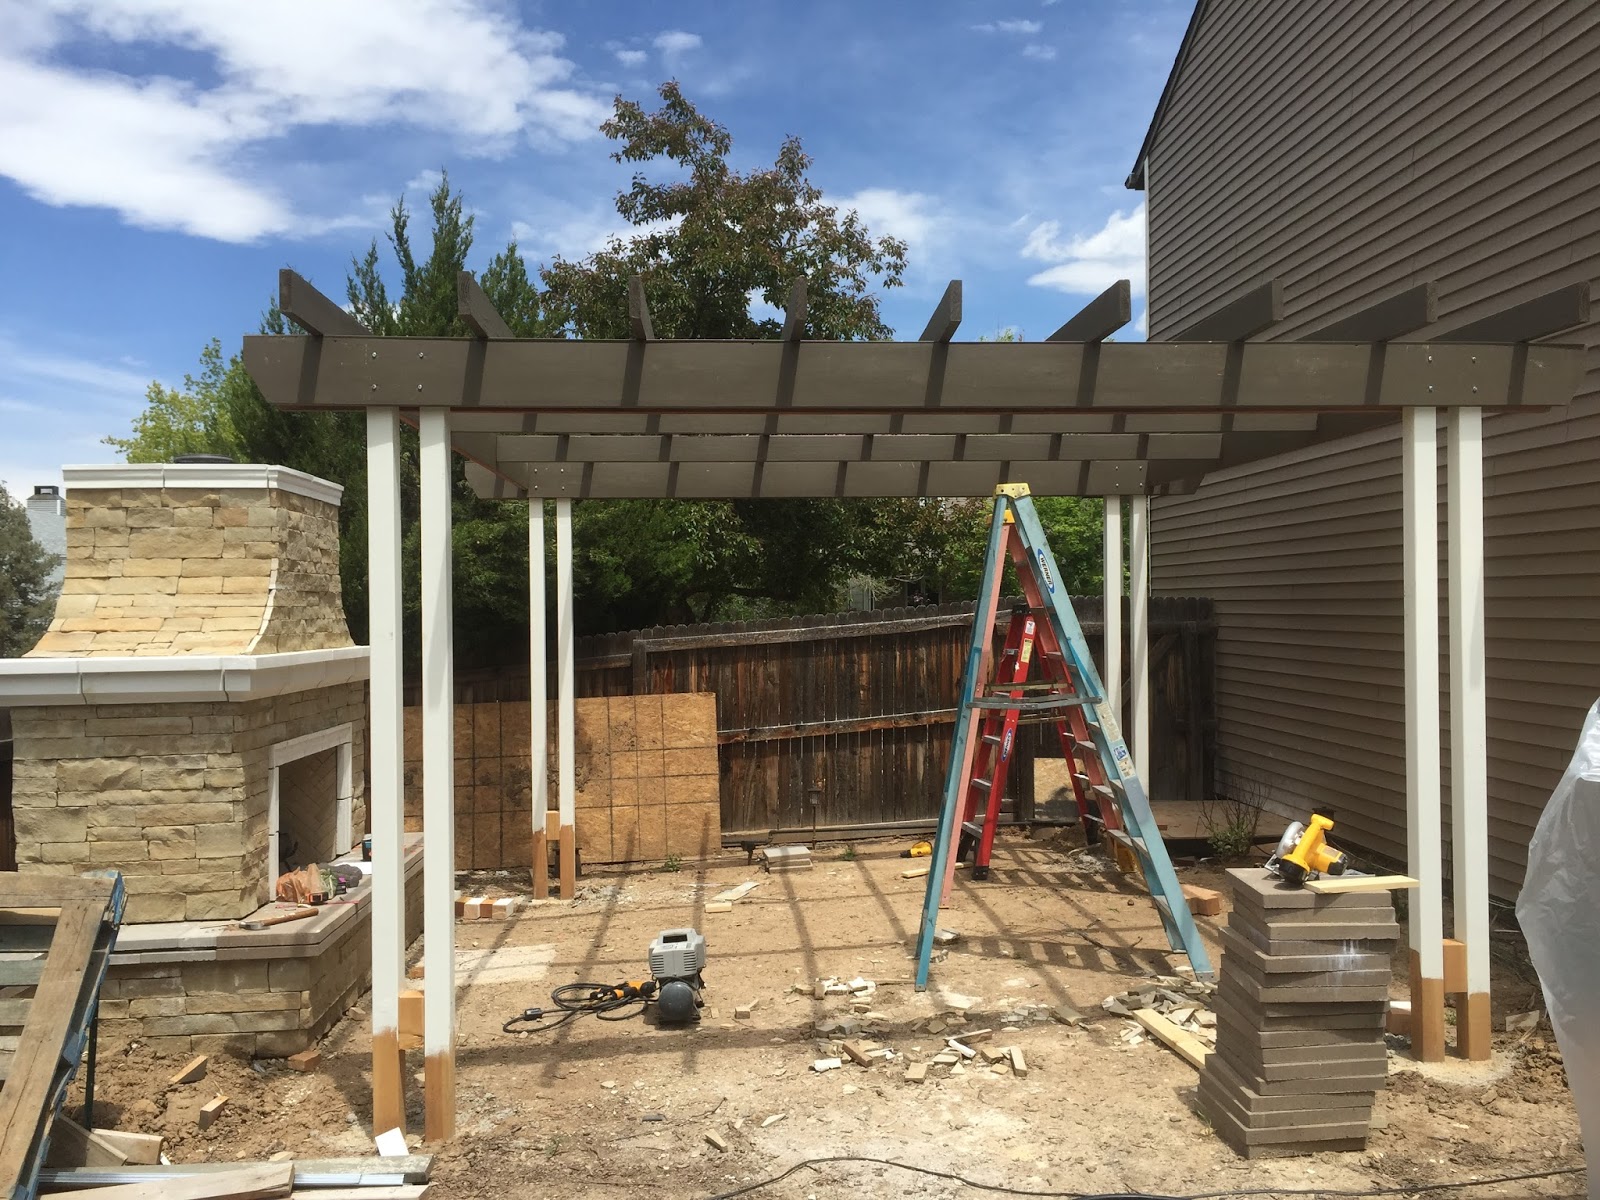
The first step was to install the main support posts.  The pergola was designed to be 16 feet by 16 feet so there needed to be quite a bit of support.  This involved using eight 4” x 4” posts that are 12 feet long.  All the posts were painted beforehand so it would also be faster to assemble.  I dug all four holes about 30 inches deep and then pre-assembled the posts in pairs so they would be straight when set in the concrete.  Once the posts were in the holes, they were set with concrete and made perfectly level.  You will see in the picture below that the paint did not go all the way to the bottom; this is because rock will go at the base of the columns and cover the wood.  The posts mimic the front of the house as well.


After a week to make sure the concrete was cured (and because I had work) my brother and I started on the top part of the pergola.  I really did not want to paint the wood above my head so I pre-painted all the wood in my garage.  This pergola has over 550 linear feet of lumber so it took up my entire garage.  Although many pergolas are made with cedar which has a rough texture, I wanted a cleaner design so I used pre-treated exterior #1 grade douglas fir.  I patched a few of the knots in the wood and then coated them with a sold stain so the grain of the wood could still be visible.  I used the stain that I used for the arbor above my garage (in a previous post) that I originally created by mixing five stains together until I found the perfect color.   In the picture below you will see about half of the lumber which has been stained.


All of the lumber is 16 feet in length and quite heavy.  The main supports of the arbor on each side are two 2x10 pieces bolted into the main support beams.  My brother and I hung them with screws temporarily while we made sure all measurements were correct and the wood was level.  There is a slight slope to this area for drainage but we wanted to make sure the arbor was straight otherwise it would look weird with the house.  Once Level, we went back and bolted the main supports to the support beams.  After everything is installed, there will be almost 1,000 pounds of lumber resting on the main supports.   In the below picture you can see my brother putting in the last of the bolts to get ready for the next level of lumber.


We also added 2x8 side supports and additional 2x6 center beams to help with the strength.


The next step was to add the cross beams which are 2x6 pieces of lumber.  The way the main supports were built allowed me to have a spacer 2x4 for me to screw through.  It is hard for me to explain, so please see the diagram below. 


I screwed long screws from below through the 2x4 and then up into the 2x6.  This not only allows me to hide the screws, but also allows a better metal connection to keep the wood from warping.  Below you can see all the top braces installed.  You can also see in the pictures that I angled the ends of the lumber to give it a little better design. 


The last step was to add another layer of 2x4 pieces of wood to connect the 2x6 boards together.  This also keeps the wood from warping while adding support.  Below is a picture taken from the top of the pergola. 


Every point where wood crosses over another piece of wood has either been screwed or nailed from above and cannot be seen from below.  On the entire pergola, only the main bolts can be seen and all other fasteners are hidden.  Here is another picture with the rest of the beams installed. 


Finally we added PVC molding across the top of the posts to mimic the columns on the front of the house.  We use PVC because it will not warp and for the details you want the seams to line perfectly.  It is a little more expensive, but it saves you a lot of trouble in the long run.  This product is installed the same way as wood with nails, screws, and caulking and can be painted just like wood.  Here are just a few more cool pictures.


One of my other reasons why I left an opening between the main support beams was so that I could add LED lighting.  I really wanted to have lighting that was always on so I decided upon tying these lights into my low voltage landscape lighting.  I found some LED lights that are dimmable on e-bay for $2 each that run off 12 volt AC or DC voltage.  I also bought a DC dimming module off e-bay for $4.  Since my landscape lighting runs off AC current, I needed to convert it to DC to run my lights.  I had some bridge rectifiers sitting around (yes I do keep those around) so I soldered one into a piece of wire and connected it from my dimmer to my landscape lighting wire that I have running around the house.  This makes no difference to the rest of the lighting because the rectifier is just on the wire leading to the pergola. Below is a waterproof box that I have inserted into one of the stone columns that allows me to dim the lights.  


To make the LEDs look really nice with the pergola, I purchased the lights with a polished aluminum ring so it looked like they were already in a light fixture.  I took a 2x4 that was pre-stained and laid out where the lights should go.  I then used a 2” hole saw to bore a hole in the lumber that would make a tight pressure fit with the light bulb and I could still remove them later if needed.  


I used low voltage landscape wire to run between the lights and connected the wire to G4 bases so the lights could plug into them.  The entire cost of the lighting, wiring, and dimmer was about $50.   I then place the piece of wood in the opening and attached with nails.  I filled the holes and touched up the stain so you cannot even tell that nails were used. 


After linking up the wiring and attaching the dimmer everything turned out great.  It was an easy project but really took the pergola to the next level; not to mention created much more of a living room feeling to the patio.  Below you can see the lights on at night but they can be dimmed to a low level or turned all the way up making a very bright area.  I will add a light fixture in the center of the pergola at a later point but it will also run off the low voltage landscape lighting system. 


Well that is all for part one.  I have the rest of the patio in and most of the stone work completed so I will leave you with a sneak peek at part two of the pergola post.